Simao.soares (talk | contribs) (→Import genome) |
Simao.soares (talk | contribs) (→Import genome) |
||
| Line 21: | Line 21: | ||
To import a genome select the option MSeed -> Import -> Mappings: | To import a genome select the option MSeed -> Import -> Mappings: | ||
*choose one of the available genomes in The Seed | *choose one of the available genomes in The Seed | ||
| − | *a name for the local | + | *a name for the local annotation |
| − | *the mapping to be used.<br /> | + | *the mapping available locally to be used.<br /> |
| + | A new genome annotation will be created in the local model-seed with the inserted name. | ||
[[File:Import-genome.png]] | [[File:Import-genome.png]] | ||
Revision as of 16:32, 25 March 2013
The Model-seed works in two levels, a local server and The seed server, it is possible to import to the local model-seed:
- biochemistry data
- genome annotations
- mappings
And use these data elements in local operations.
Import biochemistry
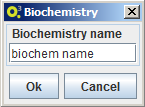
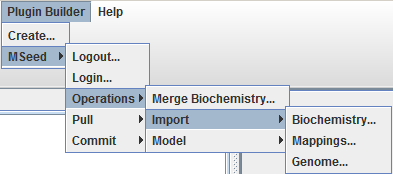
To import a biochemistry select the option MSeed -> Import -> Biochemistry and choose a name for the local data element. OptFlux will then ask Model-seed to retrieve the latest biochemistry version from The Seed and to create local of version with the selected name.

Import mappings
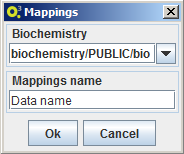
To import a mapping select the option MSeed -> Import -> Mappings and choose a name for the local data element and the local biochemistry to be associated to the new mapping. OptFlux will then ask Model-seed to retrieve the mapping from The Seed and to create a local of version with the inserted name and connected to the selected local biochemistry.
Import genome
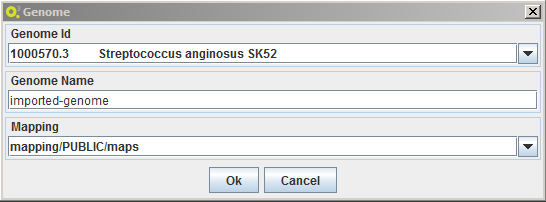
To import a genome select the option MSeed -> Import -> Mappings:
- choose one of the available genomes in The Seed
- a name for the local annotation
- the mapping available locally to be used.
A new genome annotation will be created in the local model-seed with the inserted name.


