From Optflux
Creating a new project for your plug-in
- Begin by Running Eclipse
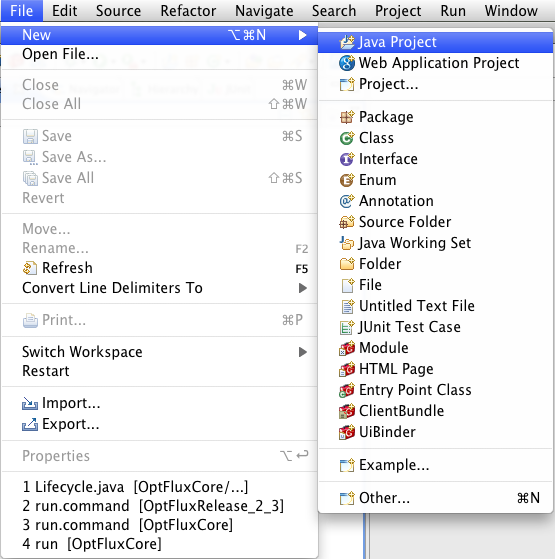
- Having downloaded the release from the website, let's begin creating a New Java Project
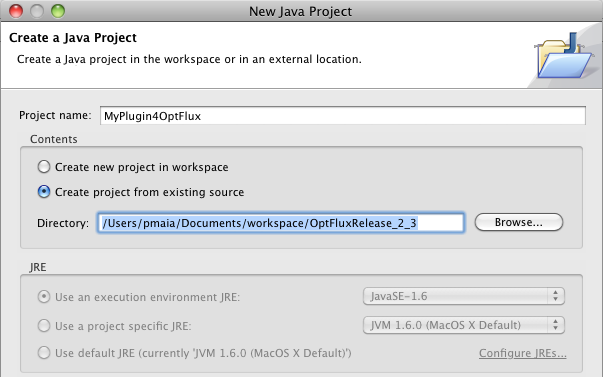
- Give a name to your project and:
- select the Create project from existing source;
- select the path to the directory where you extracted the OptFlux release.
- press next;
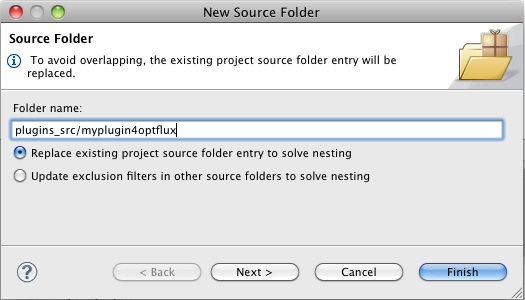
- Press the Create new source folder link
- Add a name your plug_in, preferably under plugins_src folder
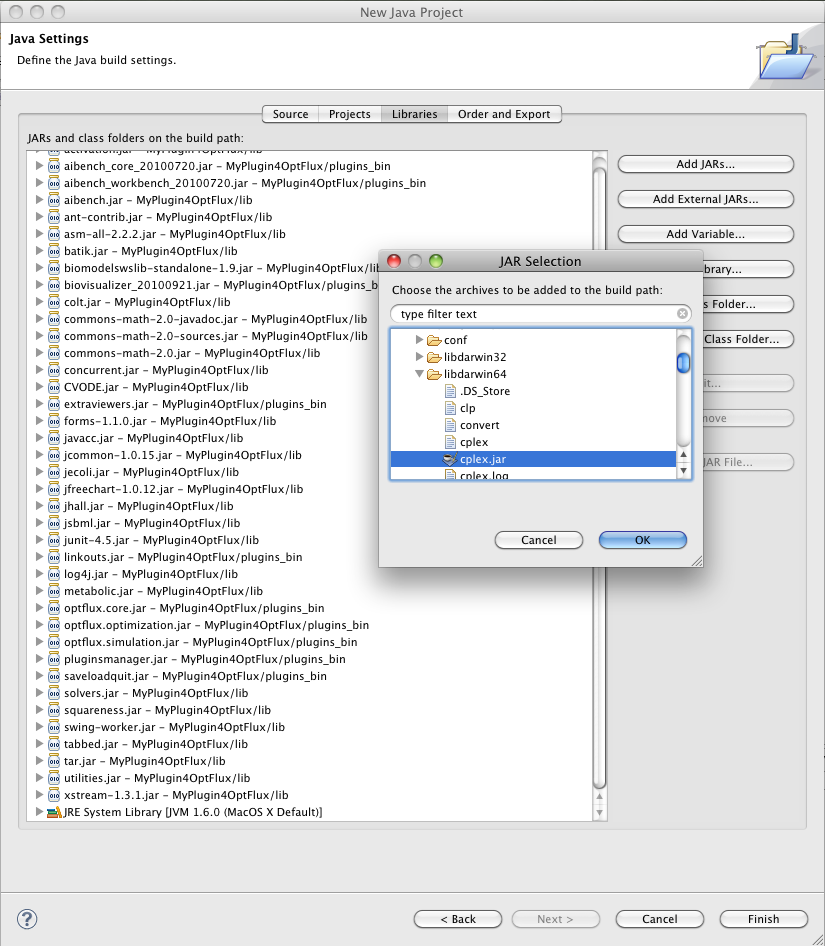
- Switch to the Libraries tab
- Press the Add JARs... button
- Add any jar library under the lib[your_architecture] folder. In the example we are adding some extra libraries for MacOS X (darwin64)
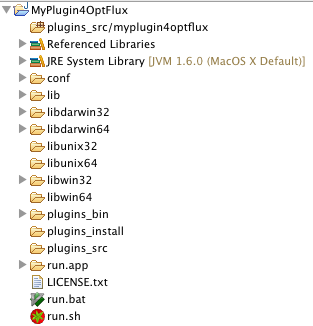
- Your Eclipse workspace should look something like:
