| Line 11: | Line 11: | ||
[[Image:MFAloadProject1.png]] | [[Image:MFAloadProject1.png]] | ||
| + | |||
| + | After name the project and load the [[Media:MFAmetatool.txt]] model. | ||
[[Image:MFAloadProject2.png]] | [[Image:MFAloadProject2.png]] | ||
| + | |||
| + | To finish up press Ok. | ||
=== Second step === | === Second step === | ||
Revision as of 17:06, 1 March 2010
Contents
MFA4OptFlux Plug-in How-to
In this section the MFA4Optflux How-to is described.
First step
Load a metabolic model, see How to create a new model/project from SBML and How to create a new model/project from text files.
In this how-to the following Metatool model will be used: Media:MFAmetatool.txt
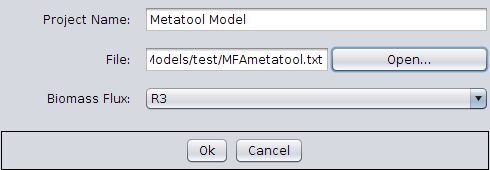
After name the project and load the Media:MFAmetatool.txt model.
To finish up press Ok.
Second step
In Menu Plugins choose Plugins->MFA->Create Measured Values as shown in the following Figure.
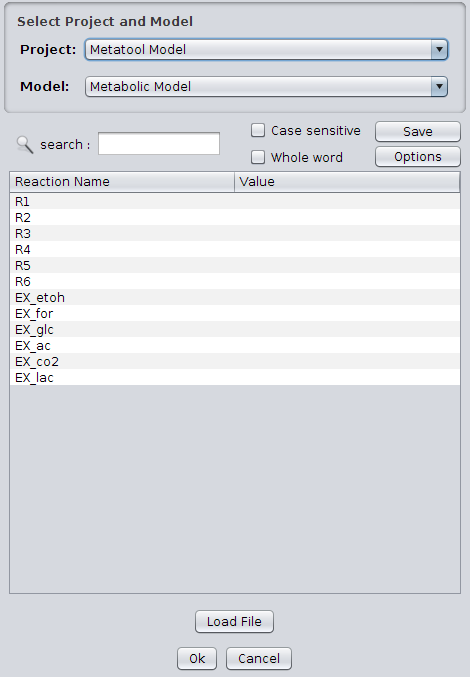
A Dialog will pop-up asking the measured flux values. Enter the set of measured values or load a set of flux values from a file.
The file has to respect the following format:
<Reaction_ID> <Delimiter><Measured Value>
Note: The reaction order can be different from the model and any lines only with the Reaction_ID will be ignored.
If the flux measured list is empty the following dialog will be shown.
Third step
Enter the values displayed bellow.
Third step b
In order to visualize the flux values click on the respective Flux Measures (Instance <Number>) object. In this example it is called Flux Measures (Instance 0).
The flux measures can also be saved by pressing the "Save" button.


